
Livewire 3 has just been released.In this tutorial I will teach you How to install Livewire 3 in Windows 11.
Livewire version 3 requires Laravel version 10 or later & php version 8.1 or later, so make sure you have these.
Moreover Livewire 3 is still in beta, so tetst your application thoroughly before using Livewire 3 in production.
First we will install Laravel 10.
What is Livewire?
Livewire is a popular Laravel package that allows developers to build interactive and dynamic user interfaces using a combination of Laravel and JavaScript. It enables real-time, reactive components without the need for writing custom JavaScript code. If you’re interested in integrating Livewire into your Laravel project, this step-by-step guide will walk you through the installation process.
Installing Laravel
Before we install Livewire v3, we need to install Laravel 10.
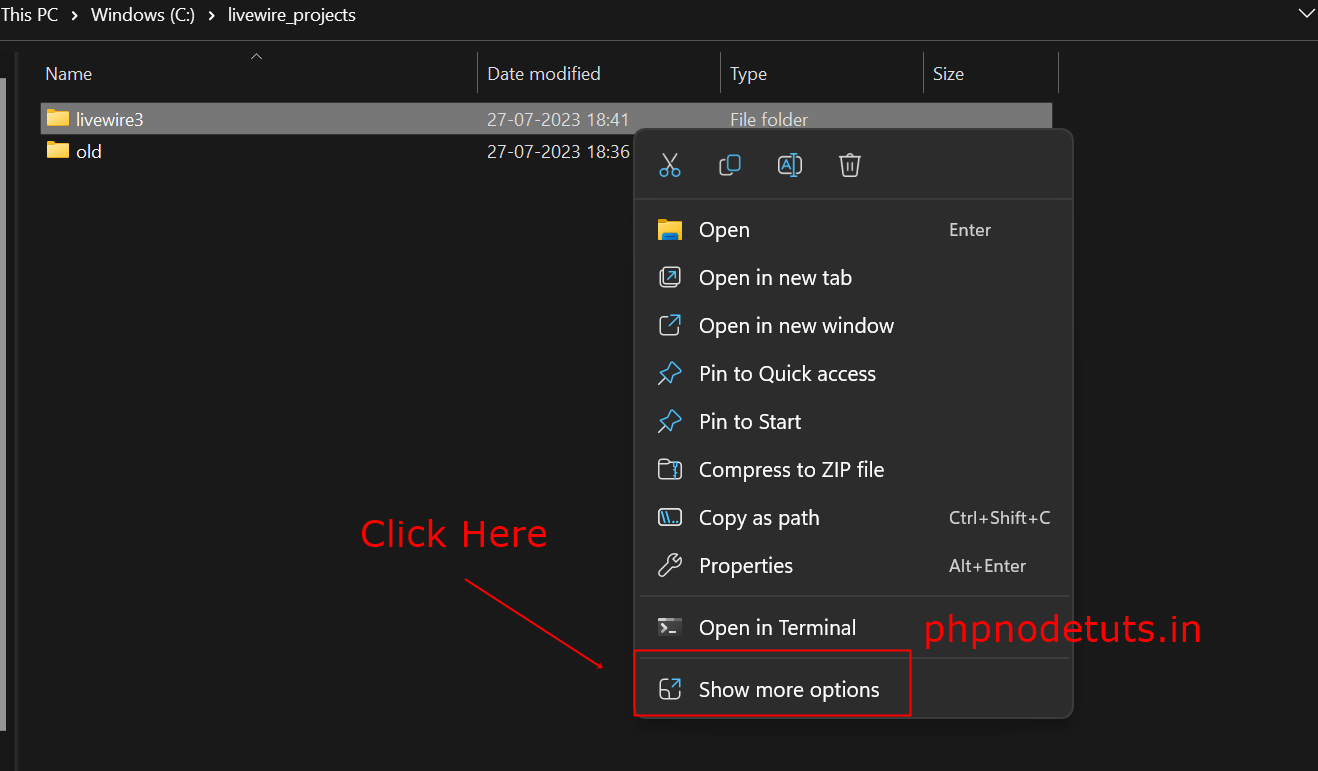
In your drive, create a folder livewire_projects,
Now right click & click on “Open In Terminal “.
There are two ways to install Laravel, using composer create-project command or using laravel new command.
To install Laravel using laravel new command, you need to install Laravel installer globally using the following command.
composer global require laravel/installer
Copy one of the below commands into your terminal & press enter to install Laravel.
composer create-project laravel/laravel your-project-name
Or
laravel new your-project-name
I have already installed Laravel installer globally, so I will use the below command to install Laravel.
laravel new livewire3
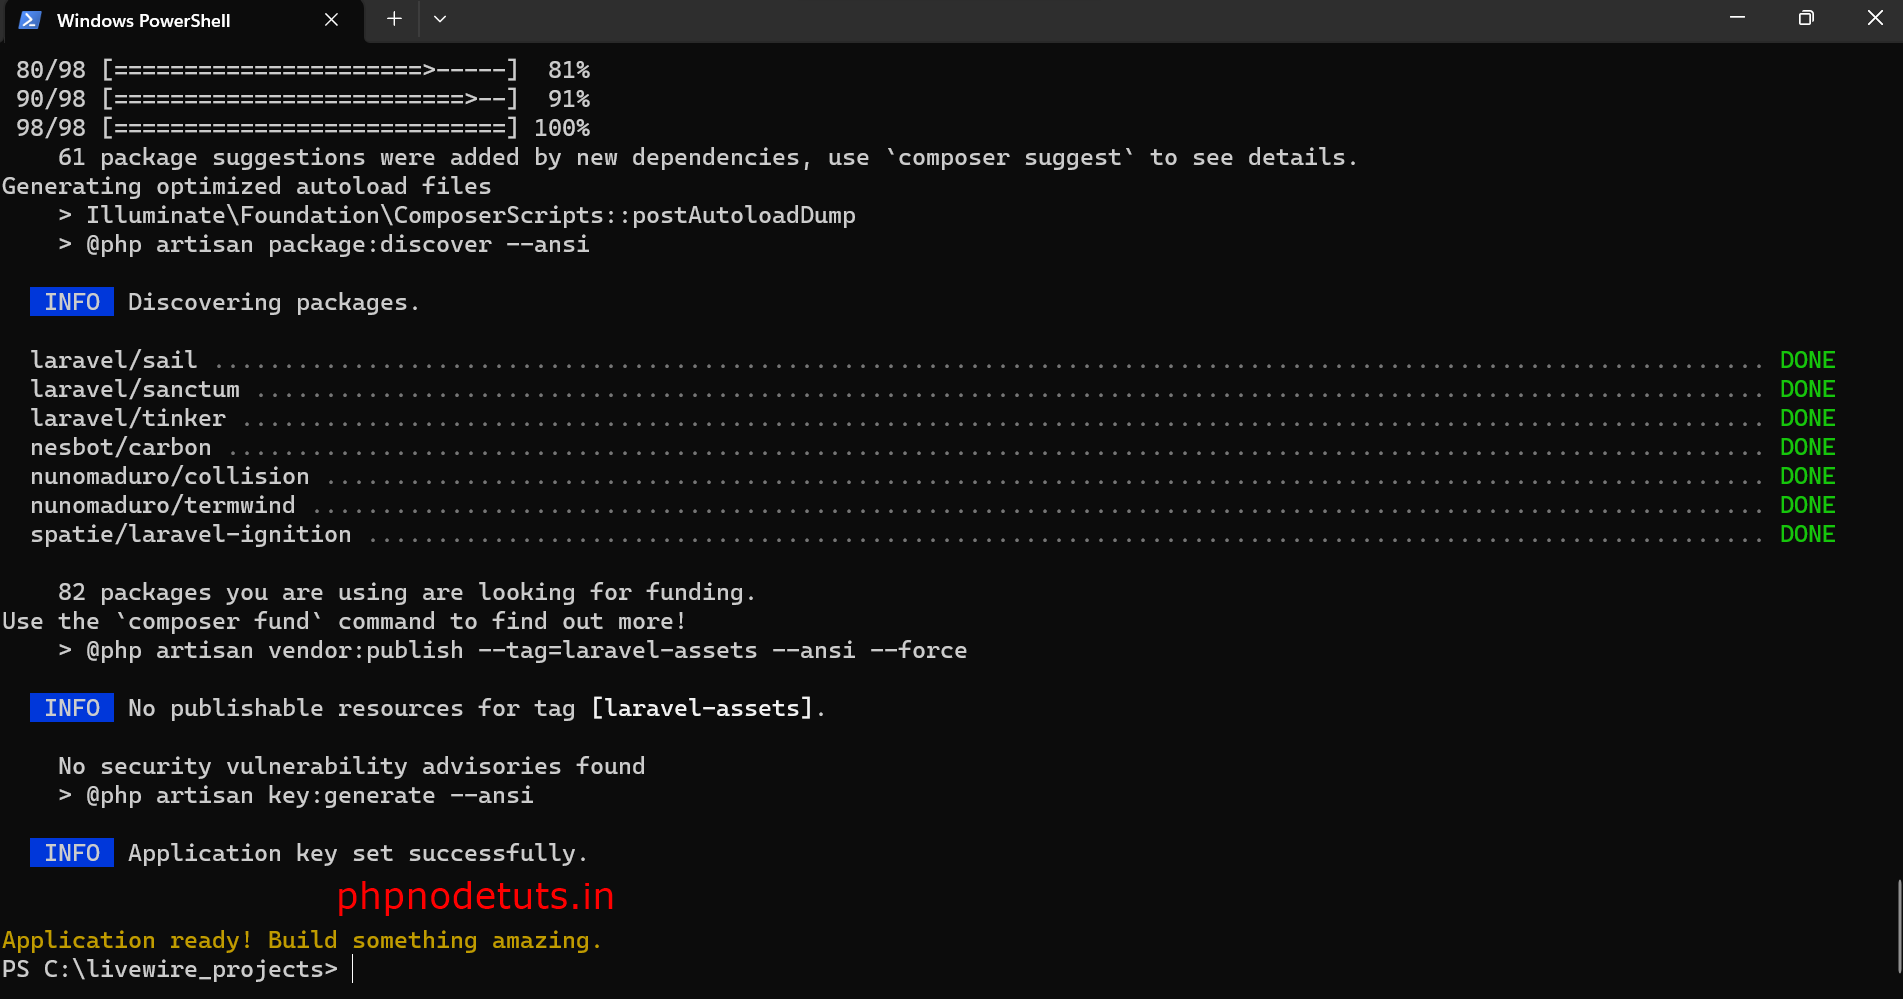
It will take some time to download Laravel, depending on your Internet Connection. After the download completes you will see screen like below image.
After the download completes, type cd your-project-name & press enter.

Now to run the Laravel app, type below command & press enter.
php artisan serve
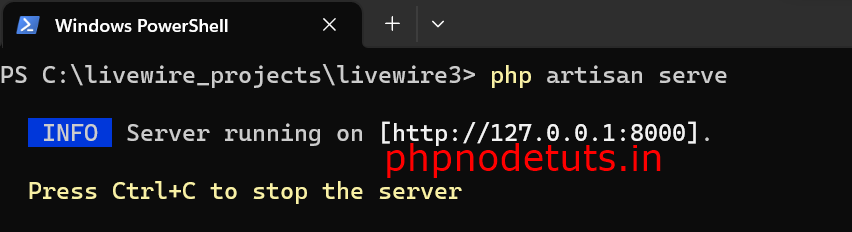
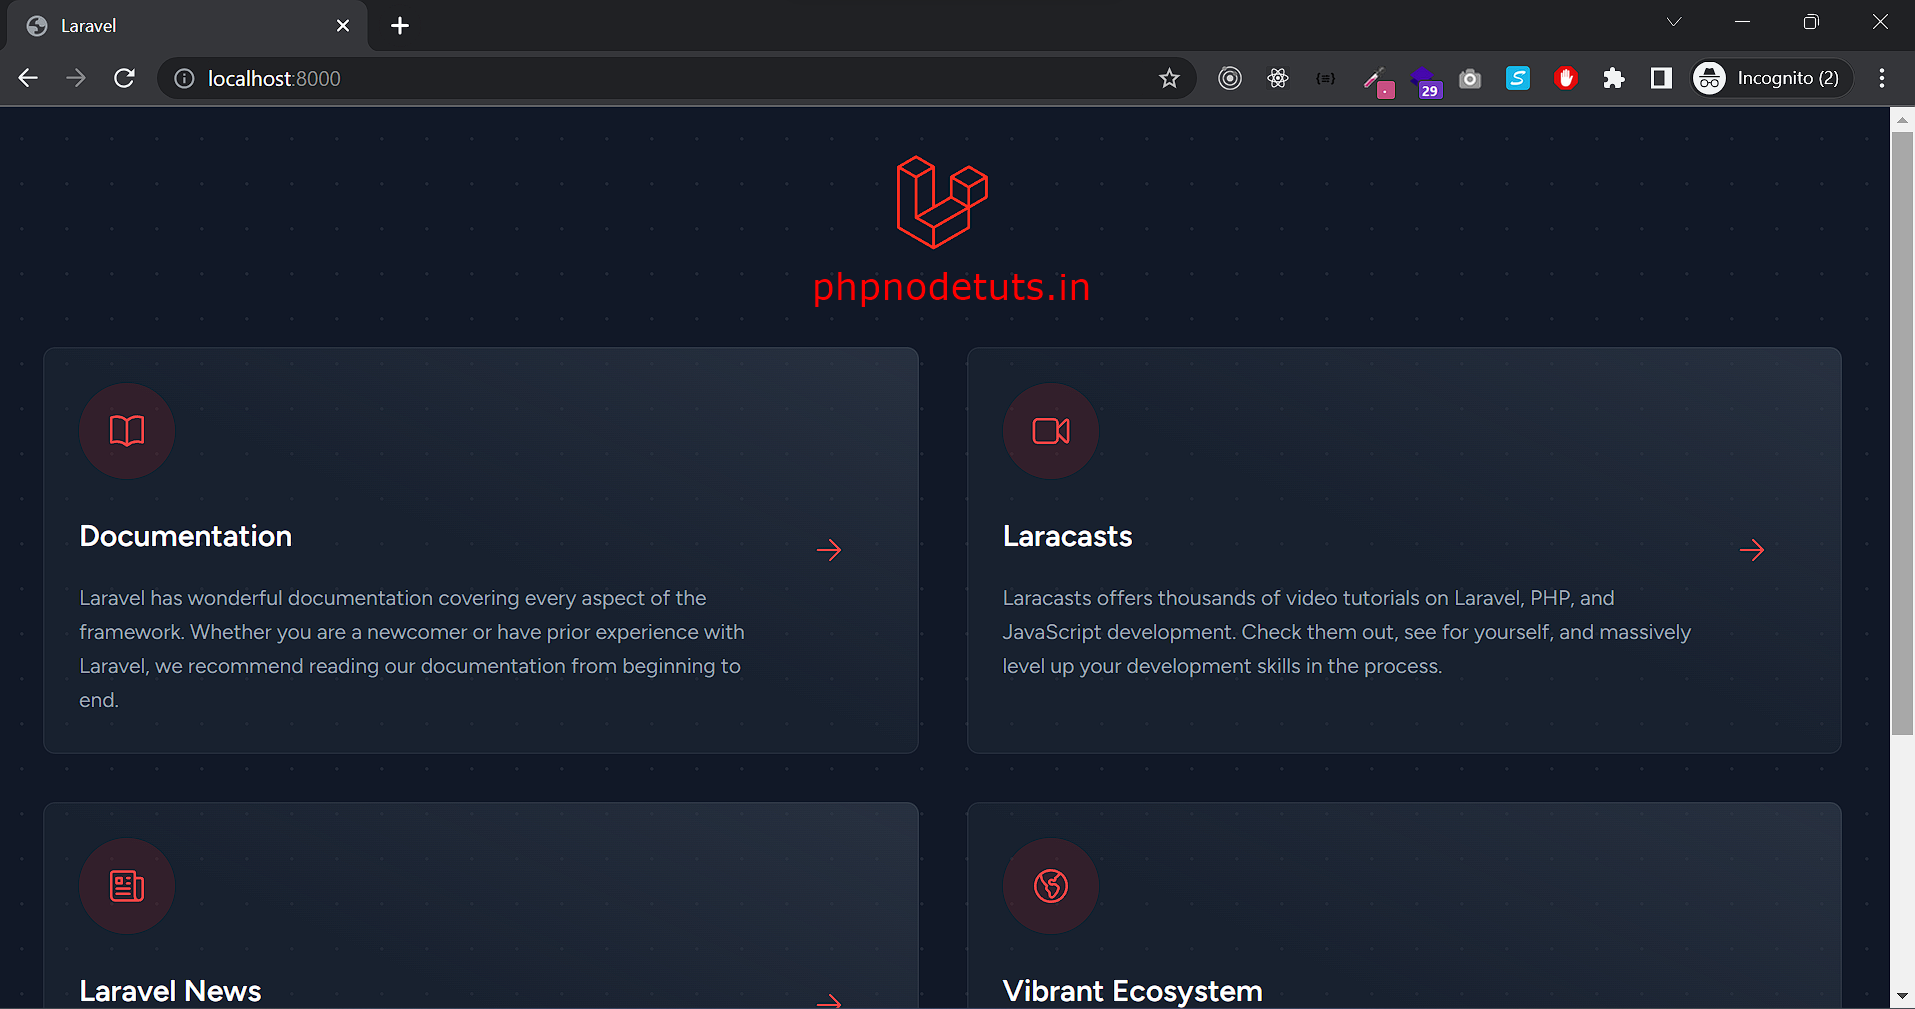
Open your browser & type localhost:8000 in your address bar, & you will see that Laravel app is running successfully.
Install Livewire 3
Now, open your project folder in your favourite IDE, here I am using VS Code so I will open this project in VS Code.
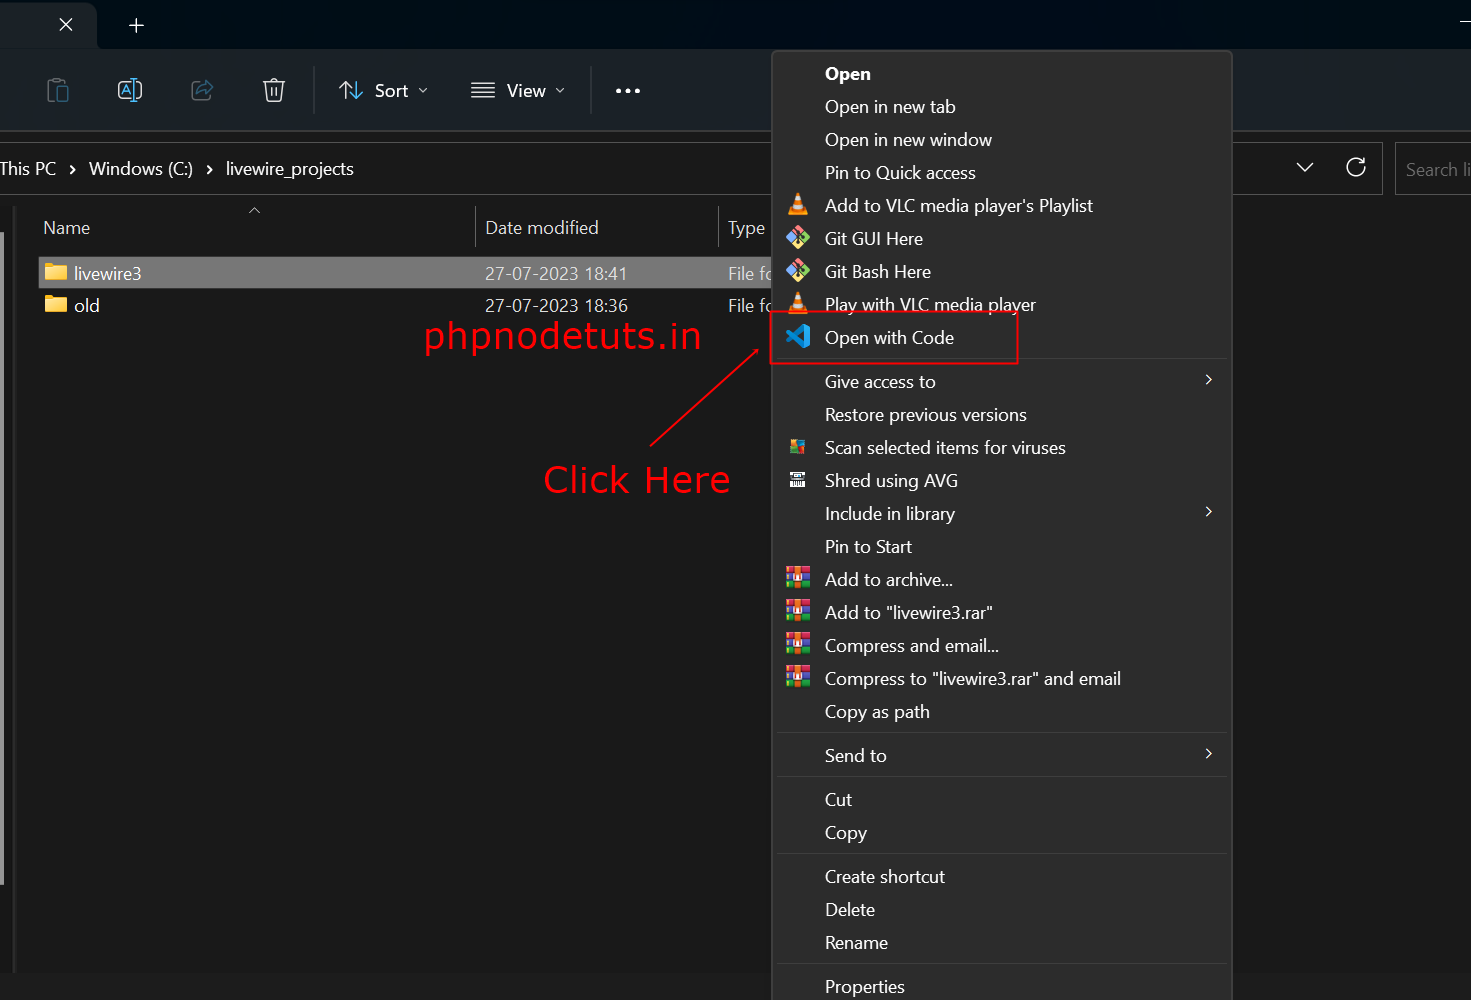
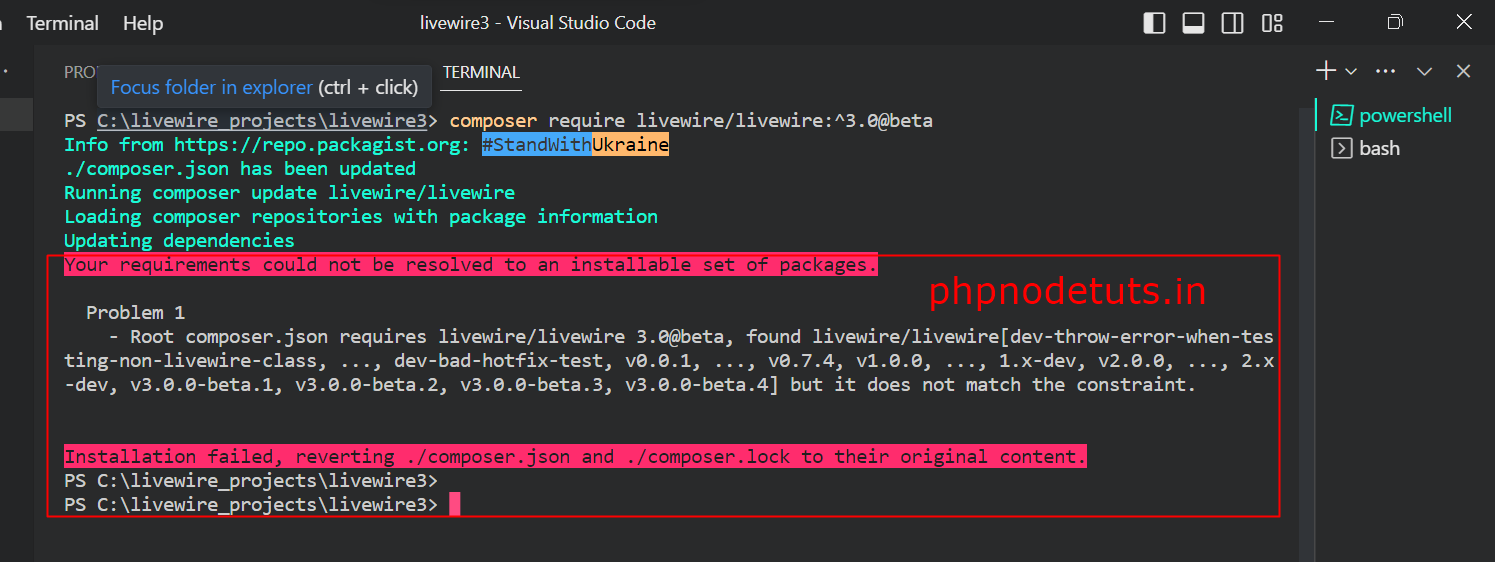
To install Livewire you will need Git Bash, if you use Windows Command Prompt or Windows Power Shell, you will get an error. See the below image.
I have already installed Git Bash & configured it in VS Code so I will open GitBash in VS Code.
LIVEWIRE 3 CRUD TUTORIAL STEP BY STEP(UPDATED)
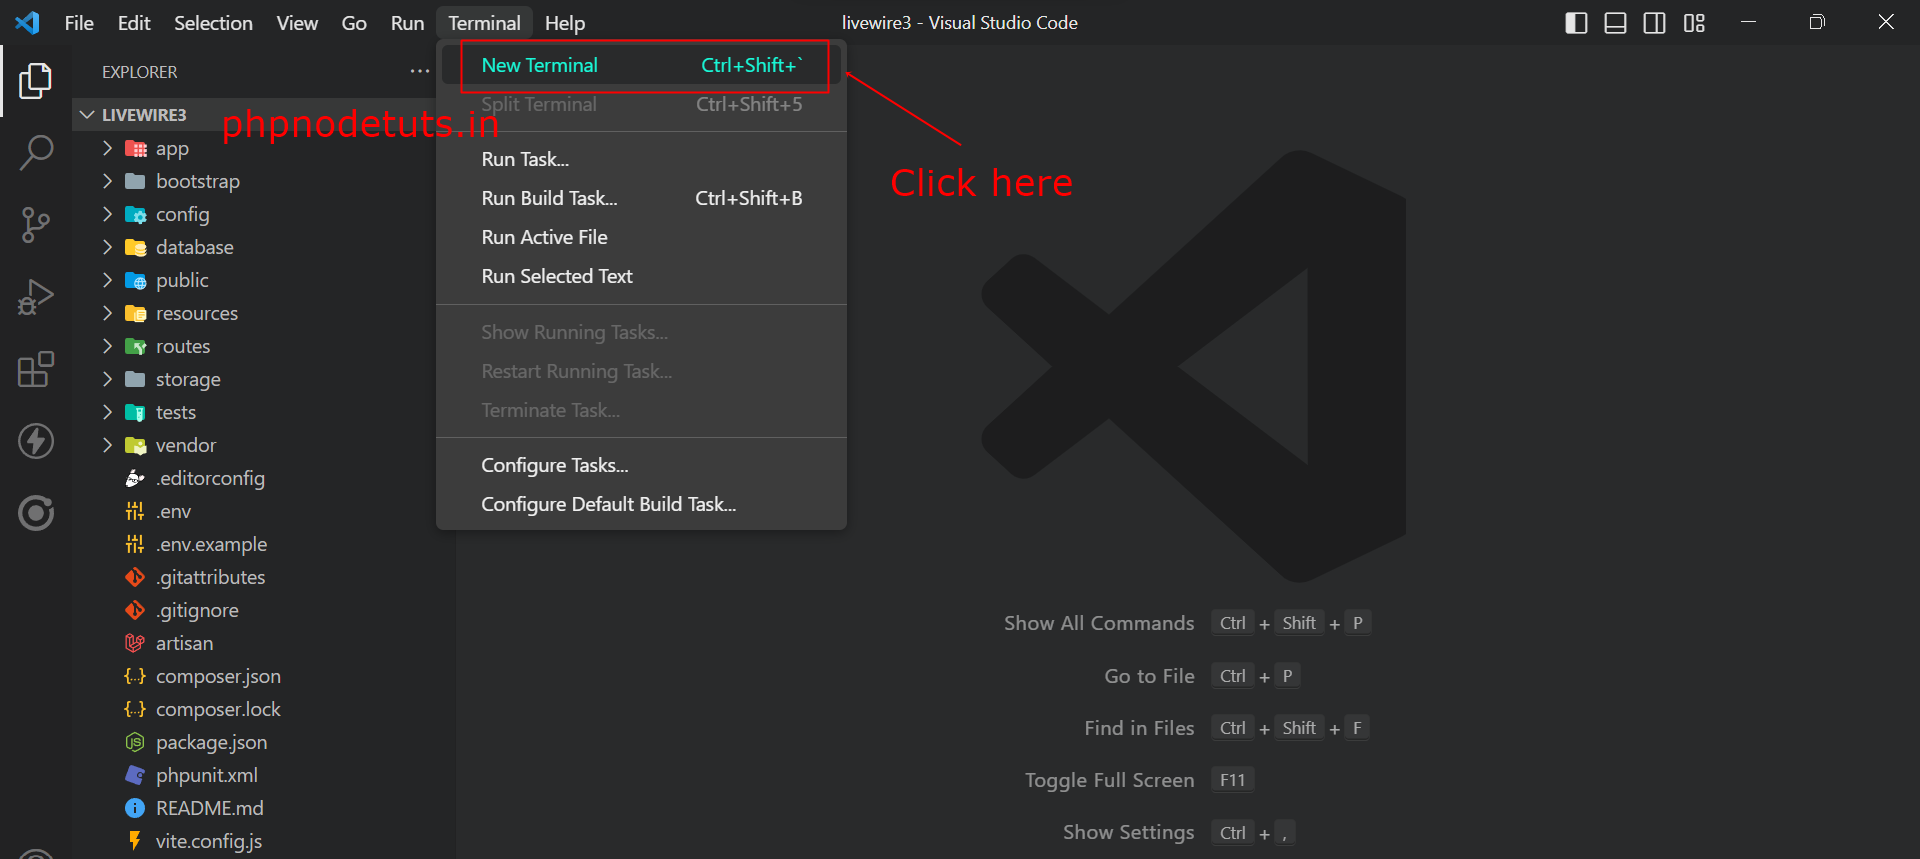
Click on Terminal-> New Terminal, it will open a Terminal.
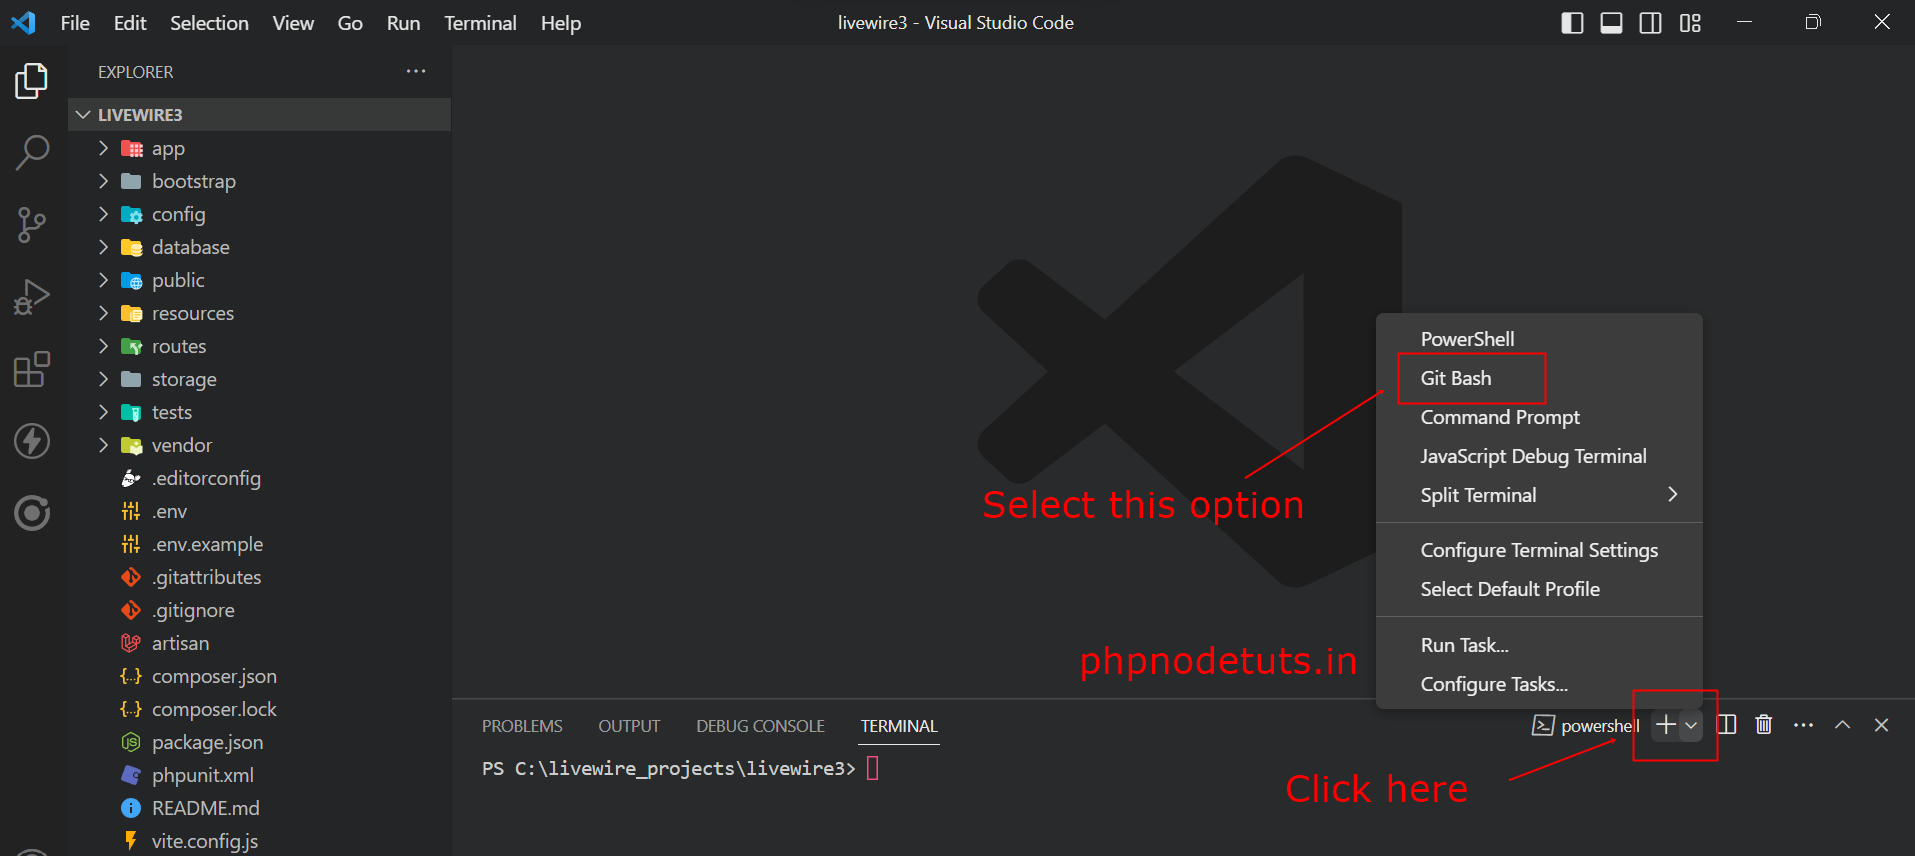
Now click on the + icon which is in the right side & click on Gitbash to open Git Bash in VS Code.
Now type the following command in Git bash to install livewire.
composer require livewire/livewire:^3.0@beta
Livewire 3 stable version has been released recently, so instead of the above command use below command to install stable version of Livewire 3.
composer require livewire/livewire

It will take some time to install livewire, depending on your internet connection. After the download completes, it will display below screen.
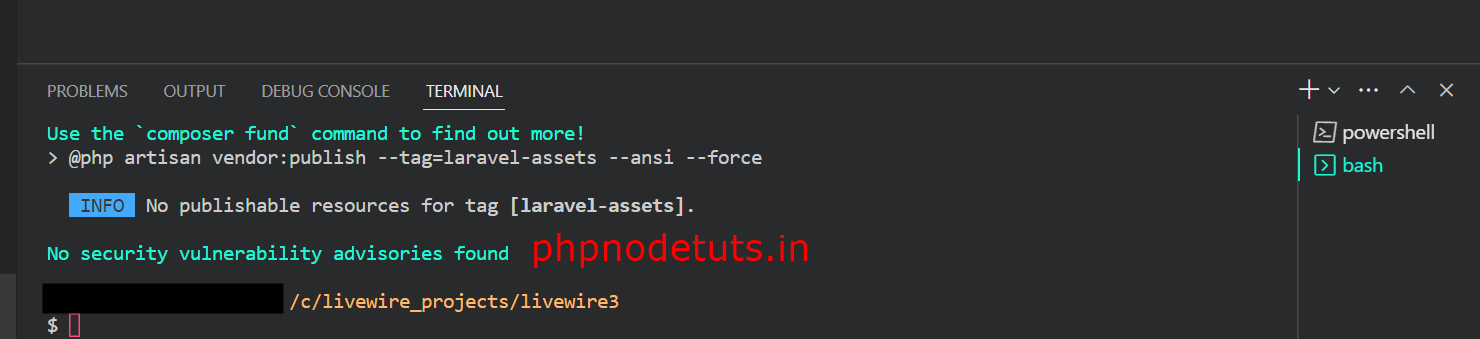
Publishing the configuration file
Now to publish and customize Livewire’s configuration file by run the following Artisan command into your terminal
php artisan livewire:publish --config

The above command will create a livewire.php file in the config folder.
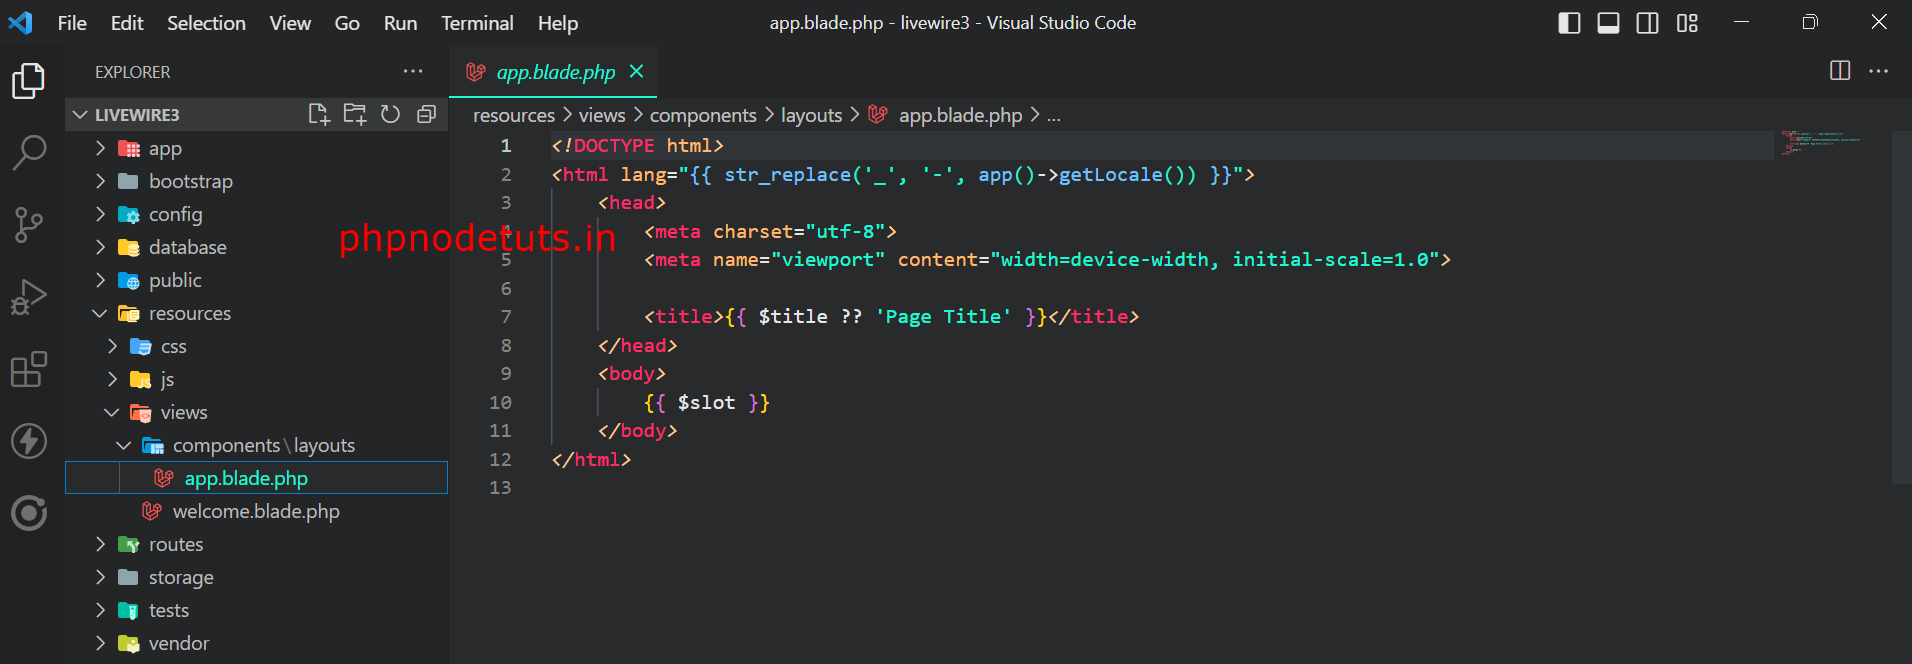
Creating a Template Layout
Now we need an HTML layout for our component to render inside. By default, Livewire will automatically look for a layout file named: resources/views/components/layout.blade.php
Open your terminal & type below command to create a layout for our App.
php artisan livewire:layout

This command will generate a file calleda app.blade.php in resources/views/components directory.
Creating Counter Component
We will now create a Counter Component . Run the following command to create Counter component.
php artisan make:livewire Counter

This command will generate two new files in your project:
App\Livewire\Counter.php
resources/views/livewire/counter.blade.php
Counter Component
Open app/Livewire/Counter.php and paste below code inside it.
<?php

namespace App\Livewire;

use Livewire\Component;

class Counter extends Component
{
    public $count = 1;

    public function increment()
    {
        $this->count++;
    }

    public function decrement()
    {
        $this->count--;
    }

    public function render()
    {
        return view('livewire.counter');
    }
}
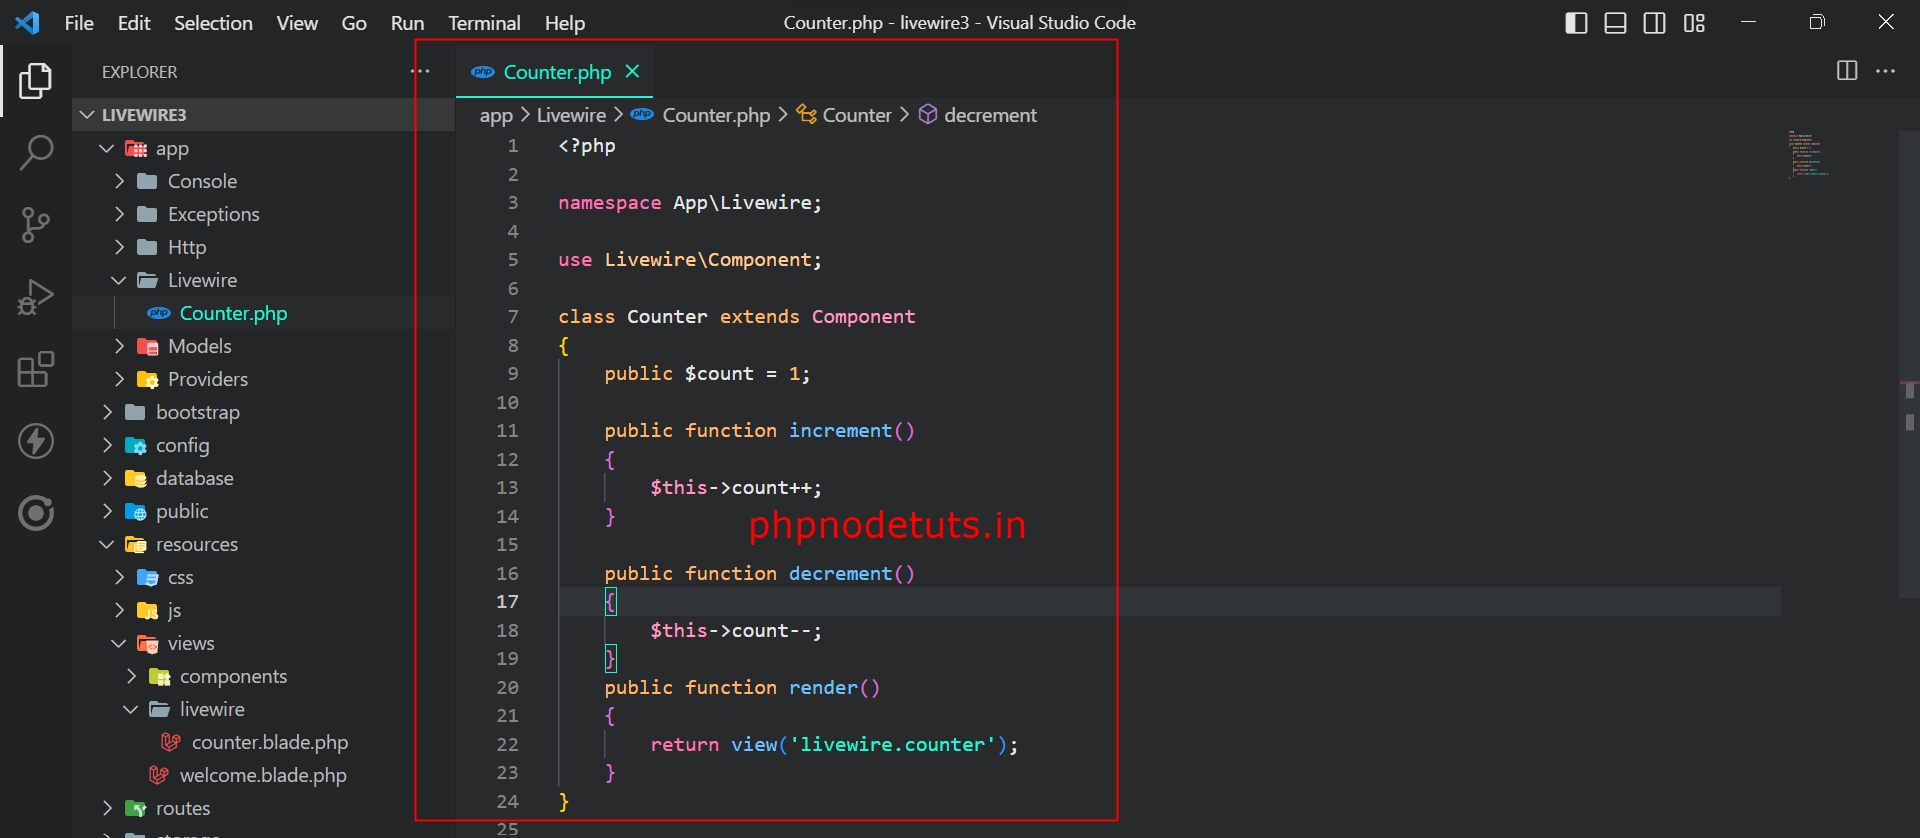
public $count = 1;—It declares a public property $count and initializes it with the value 1. Livewire properties can be accessed and updated in both the backend (PHP) and the frontend (JavaScript)..
public function increment() & public function decrement() : The component defines two public methods, increment() and decrement(). When called, these methods respectively increase and decrease the value of the $count property.
public function render() : The render() method is a required method in Livewire components. It specifies the Blade view file to be rendered when the component is included in a parent view.
Counter view
Open the resources/views/livewire/counter.blade.php file and enter the following code inside it.
<div>
    <h1>{{ $count }}</h1>

    <button wire:click="increment">+</button>

    <button wire:click="decrement">-</button>
</div>
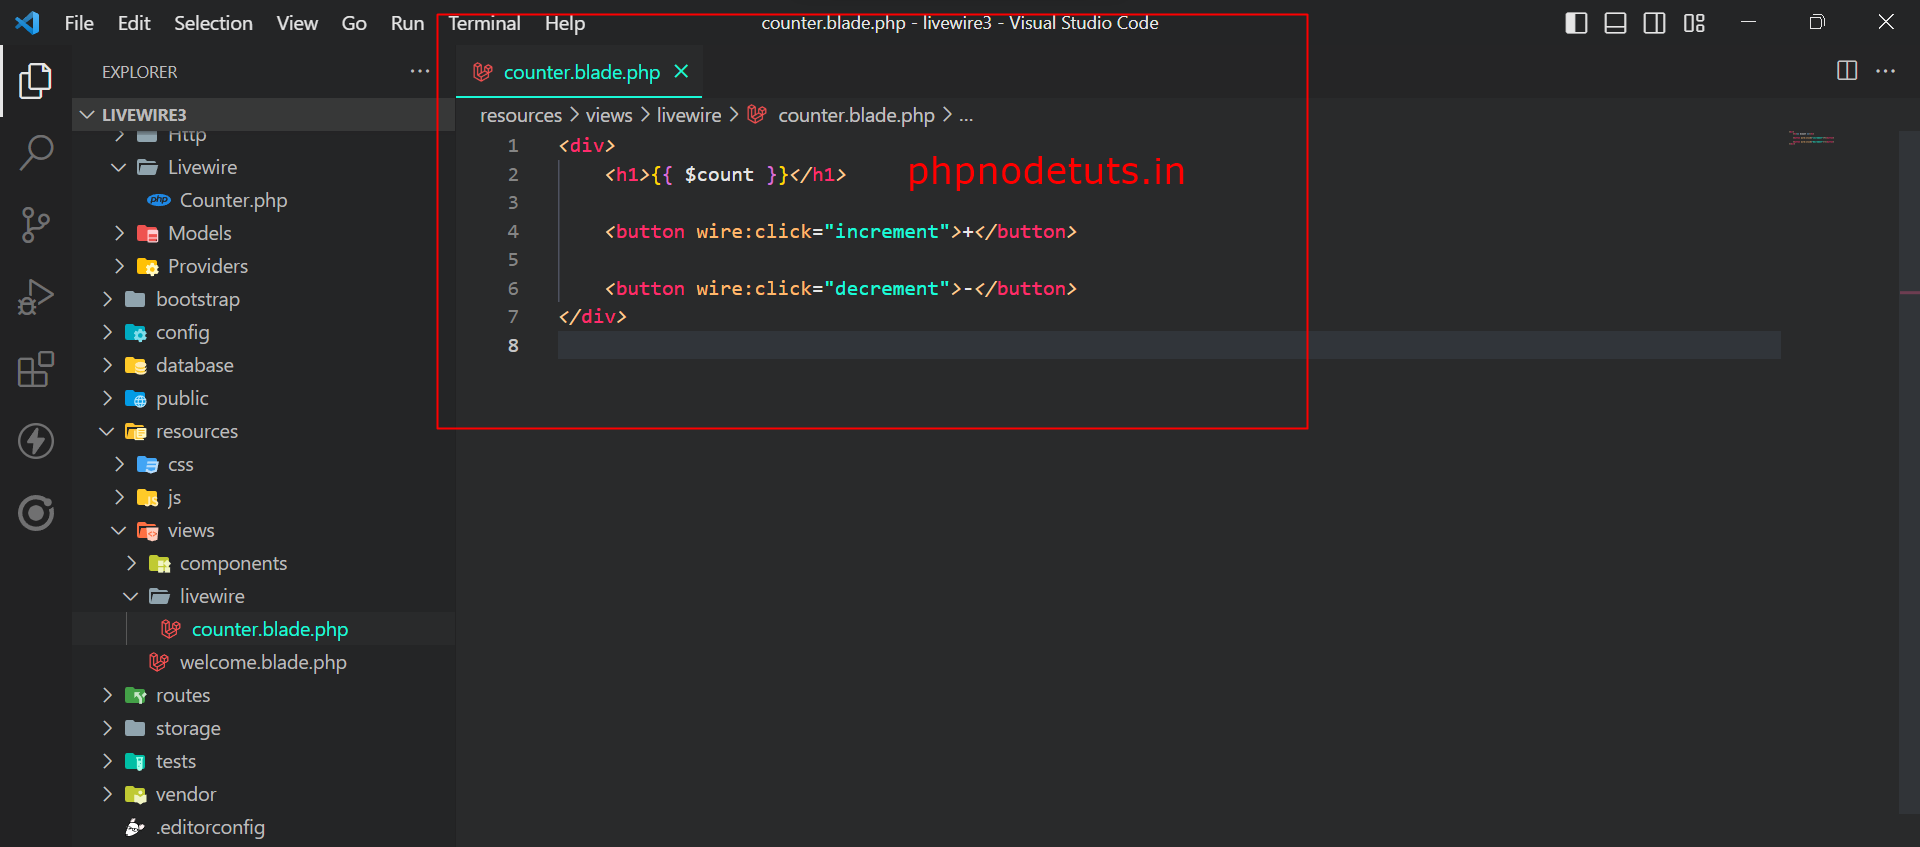
The above code will display the value of the $count property and two buttons that increment and decrement the $count property, respectively.
Creating Route
Now we need to create a route to display the counter view. Open the routes/web.php file in your Laravel application and add the following code:
use App\Livewire\Counter;

Route::get('/counter', Counter::class);

Don/t forget to import the Counter Class : use App\Livewire\Counter;
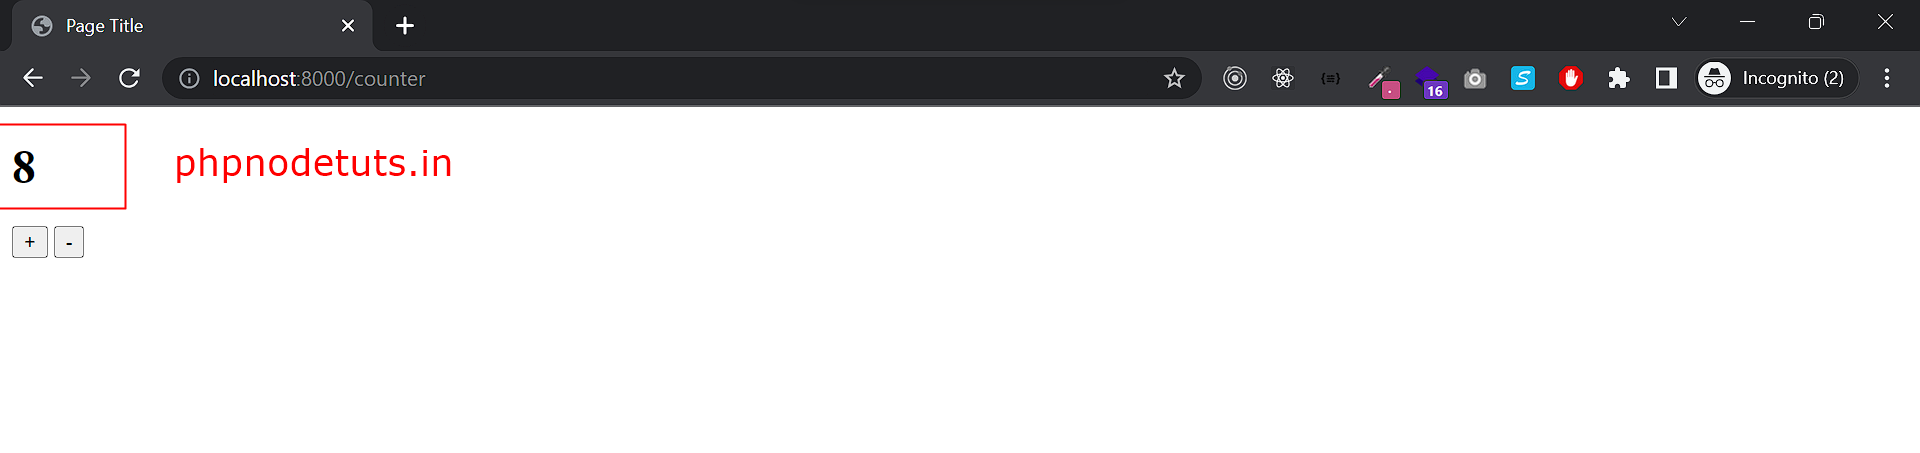
Now open this url http://localhost:8000/counter into your browser & you will see counter page as below.
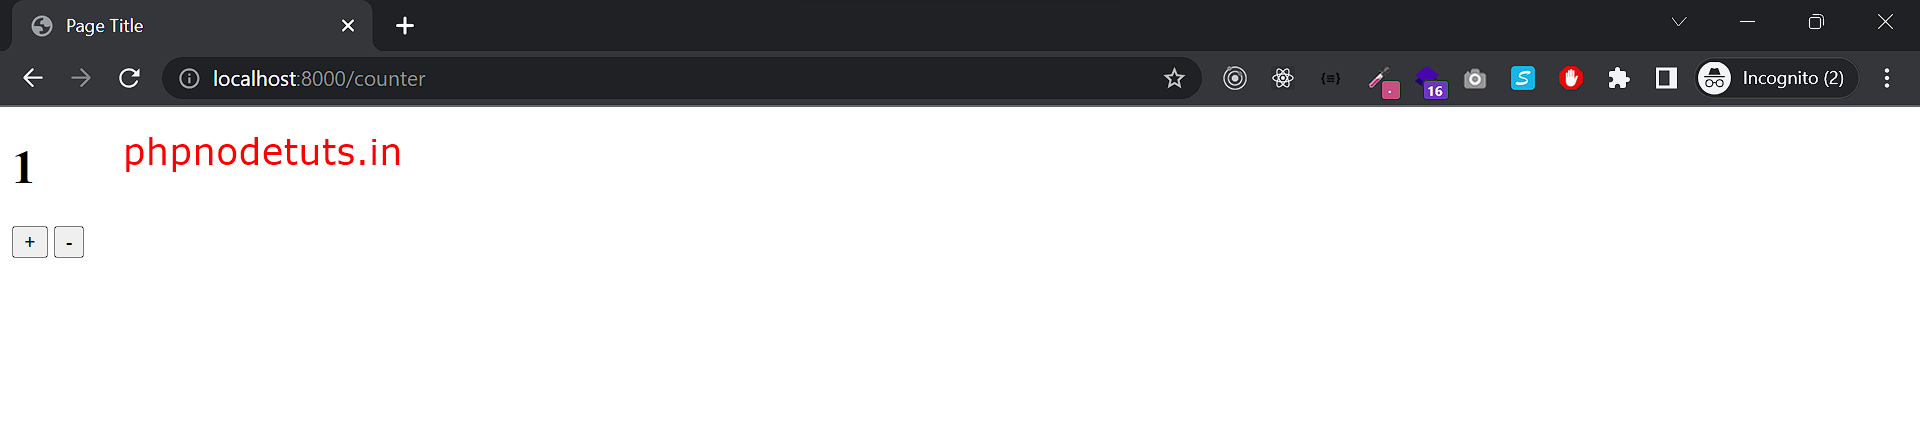
Now click on + button, if it increases or by clicking on – button if thr number decreases , It means that Livewire has been successfully Installed in your Laravel App.

